Key takeaways
- The whole problem in one line: Presenter View is a window on your desktop, and a screen recorder records your desktop. Nothing about "presenter" makes it invisible to capture.
- Two displays (best quality): Slide Show tab → tick Use Presenter View, set the Monitor dropdown so the slideshow goes to display 2 → record display 2 only. Notes live on display 1 and never enter the file.
- One display, staying in PowerPoint: use Record in PowerPoint for Microsoft 365 — your notes show as a teleprompter above the slide and are not written into the exported video.
- One display, any app: move the notes off the computer — Keynote Remote on an iPhone, the Slides/PowerPoint mobile app, or a printed Notes Page.
- The setting that silently ruins takes: Duplicate/Mirror instead of Extend. Mirrored displays show identical content, so Presenter View lands in the recording no matter which display you capture.
- Stop the recorder before you press Esc — otherwise the last second of your video is the editing view with the notes pane wide open.
You want your speaker notes in front of you while you record, and you want them nowhere near the finished video. Those two things fight each other because Presenter View is just another window on your desktop — and a screen recorder captures the desktop, not "the presentation." The fix is always the same idea: separate what you see from what gets captured. Either the slideshow goes to a display you record while the notes sit on a display you don't, or the notes leave the computer entirely, or you use a recorder that captures a single window instead of the whole screen.
Below is each of those setups, step by step, with the exact menu paths for PowerPoint, Keynote and Google Slides — plus the leak check that catches the mistakes which only show up when you play the file back.
Why Presenter View ends up in the recording
Three specific things go wrong, and they're worth naming because each has a different fix:
- You only have one display. Presenter View and the slideshow both want the screen, so on a single monitor PowerPoint puts Presenter View on top and the slideshow underneath. Record the display and you record the notes.
- You have two displays, but they're mirrored. Duplicate (Windows) and Mirror (macOS) mean both screens show identical content. Presenter View can't go "somewhere else" because there is no somewhere else. This is the most common cause of a ruined take.
- You have two extended displays, but the recorder is pointed at the wrong one. Everything looks perfect while you present; you find out afterwards. Which is why the test take below matters more than any setting.
Pick your setup in 30 seconds
| Your situation | Use this | Notes in the video? |
|---|---|---|
| Second monitor, TV or iPad (Sidecar) available | Setup 1 — extend, record display 2 only | No |
| One screen, deck is PowerPoint, nothing to demo outside it | Setup 2 — PowerPoint's built-in Record | No (teleprompter is presenter-side) |
| One screen, but you also demo a browser / PDF / software | Setup 3 — notes on phone, tablet or paper | No |
| One screen, you insist on on-screen Presenter View | Setup 4 — window capture of the slideshow | No, if window capture holds |
| Any of the above with displays set to Duplicate/Mirror | Switch to Extend first — nothing else works | Yes ⚠️ |
Setup 1: Two displays — record only the slideshow screen
This is the setup to use if you have any second display at all: an external monitor, a TV over HDMI, or an iPad running Sidecar. You keep the full Presenter View you're used to — notes, timer, next-slide preview — and the recorder never sees it.
Step 0, before anything else: extend, don't mirror.
- Windows: press Win + P and choose Extend (the four options are PC screen only, Duplicate, Extend, Second screen only). The same choices live in Settings → System → Display → Multiple displays.
- macOS: System Settings → Displays, select the second display, and make sure it is set to extend rather than Mirror Built-in Display.
PowerPoint (Windows)
- Open the deck, go to the Slide Show tab and find the Monitors group.
- Tick Use Presenter View.
- In the Monitor dropdown, choose the display that should show the slideshow — that's the one you'll record. The notes stay on your main screen.
- Start the slideshow (F5 from the beginning, Shift+F5 from the current slide). If the two views land on the wrong screens, click Display Settings in the Presenter View toolbar and choose Swap Presenter View and Slide Show.
- Now start your recorder and capture only the slideshow display. Narrate as normal.
Microsoft documents these controls on Start the presentation and see your notes in Presenter view. The same dialog is reachable from Slide Show → Set Up Slide Show, where the monitor choice sits under Multiple monitors.
PowerPoint (Mac)
Same idea, slightly different labels: the Slide Show tab carries a Presenter View checkbox alongside the two-display settings, and the Presenter View toolbar has a Swap Displays control (in some versions: Display Settings → Swap Presenter View and Slide Show). The exact wording shifts between PowerPoint releases — if you can't find it, start the show and look at the top-left of the Presenter View window, which is where the swap control lives.
Keynote (Mac)
- Choose Keynote → Settings (older versions: Preferences) → Presenter Display, and tick “Use alternate display to view presenter information.” That keeps notes and previews on your Mac's own screen.
- Start playing, then use Play → Customize Presenter Display to pick exactly what appears there: current slide, next slide, presenter notes, clock, timer.
- Record the external display only.
Apple's reference: Play a presentation on a separate display in Keynote on Mac.
Google Slides
- Click the ▾ arrow next to the Slideshow button (top right) — not the button itself — and choose Presenter view. Clicking the button alone gives you a plain full-screen slideshow with no notes at all; this is the step people miss when they're in a hurry.
- Presenter view opens as a separate browser window with your notes, the next slide and a timer. Drag that window to your main screen and put the full-screen slideshow window on display 2.
- Record display 2 only.
Because presenter view here is an ordinary browser window, this is the easiest of the three apps to reason about: two windows, two displays, record one of them.
Now record only that one display
- macOS: press Shift-Command-5, choose Record Entire Screen, then click the display you want to record. macOS Tahoe 26 and later also offers Record Selected Window; Record Selected Portion works on any version (Apple: How to record the screen on Mac).
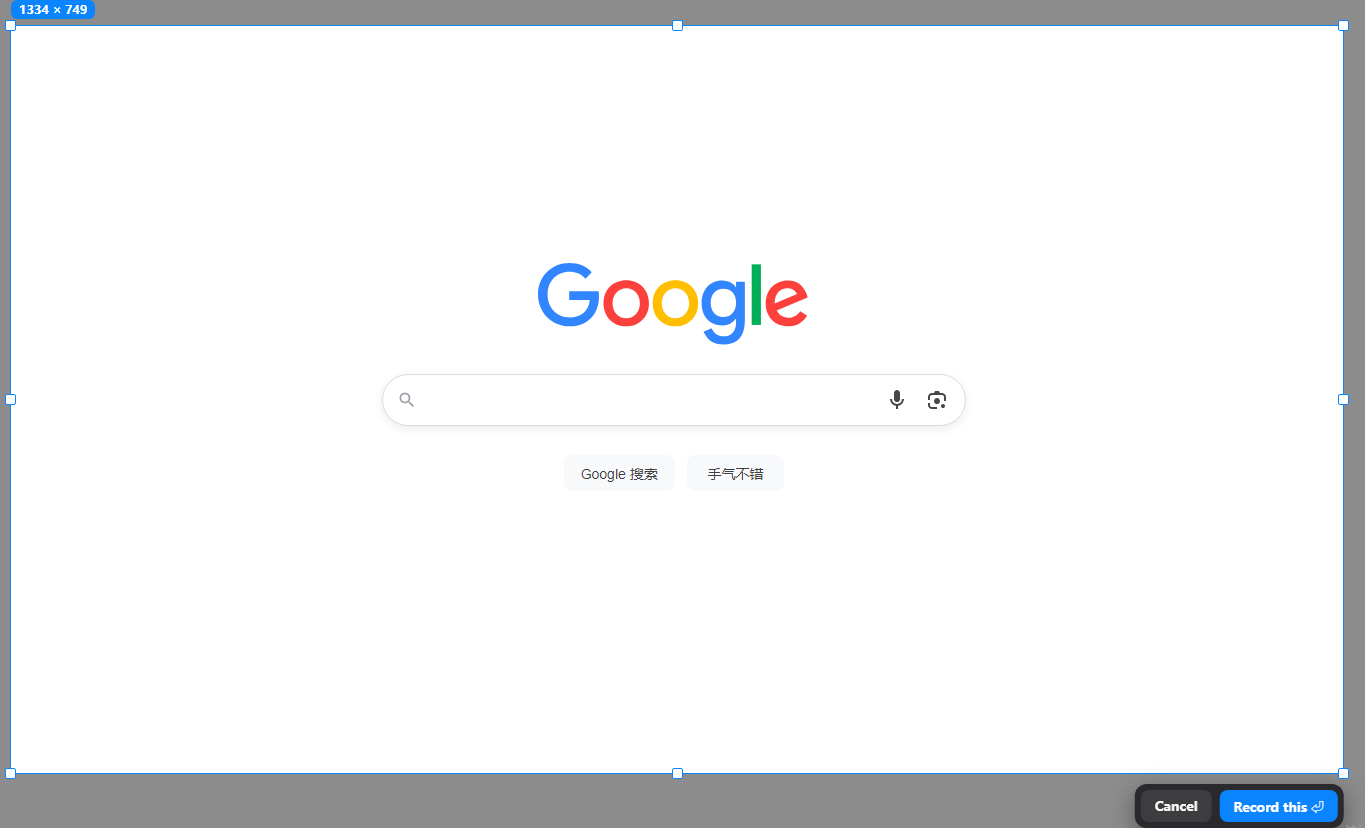
- Windows: use a recorder that lets you pick a display or drag a region. Xbox Game Bar is the wrong tool here — it captures the active app window and can't record the desktop shell or File Explorer, which makes "record display 2" unreliable. The Windows 11 Snipping Tool can record a screen region; a dedicated recorder gives you display selection plus mic, webcam and annotation in one pass.
Setup 2: One screen — use the app's own recorder
If your whole lesson lives inside PowerPoint and you only have a laptop screen, the simplest correct answer is PowerPoint's own recorder rather than a screen recorder.
In PowerPoint for Microsoft 365, the Record tab (or Slide Show → Record Slide Show) opens a recording studio with camera controls. The part that matters here: if your slides have speaker notes, they're turned into a teleprompter above the slide preview so you can read them while keeping your eyes near the camera — and that teleprompter is presenter-side only. What gets embedded and exported is the slides, your narration, the timings and your webcam. The notes don't travel with the video. (Microsoft: Record a slide show with narration and slide timings.)
Where it stops being enough:
- It only records PowerPoint. The moment your lesson includes a browser tab, a PDF, a spreadsheet or a software demo, you're back to a screen recorder — see Setup 3.
- Editing and captions are limited. Trimming filler words, cutting dead air and generating subtitles still happen elsewhere.
- The teleprompter tempts you to read aloud. Keep notes to bullet prompts, not full sentences, or the delivery flattens.
Google Slides has an equivalent built-in Rec button in the top right, but it's fenced: desktop Chrome or Edge only, and limited to certain Google Workspace editions (Business Standard/Plus, Enterprise, Education Plus), with a cap of about 30 minutes per recording. Personal @gmail.com accounts generally don't see the button at all. Check Google's slides recording help page against your own account before planning a lesson around it.
Setup 3: Notes on your phone, tablet, or paper
The most robust fix of all: if the notes aren't on the computer, they can't be recorded. This works with any app, any recorder and any number of screens, and it survives the mistakes that break every other setup. It's also what lets you record a full lesson — slides plus a browser plus a demo — without ever thinking about which window is captured.
- Keynote Remote (iPhone/iPad → Mac). On the Mac: Keynote → Settings → Remotes → Enable. On the iPhone: open the Keynote app and tap the Keynote Remote button in the toolbar, then link the two. Both devices need Wi-Fi on, and iOS/iPadOS needs Settings → Privacy → Local Network → Keynote turned on. Once linked you choose what the phone shows — current slide, next slide, presenter notes, or a combination — and tap or swipe to advance. Apple: Use a remote to control a presentation in Keynote on Mac.
- PowerPoint or Google Slides on a tablet. No pairing needed — open the same deck in the mobile app on an iPad or phone propped beside your keyboard, and scroll the notes yourself as you advance slides on the computer. Low-tech, completely reliable, works on every version.
- Printed notes. In PowerPoint, File → Print, then change Full Page Slides to Notes Pages — each slide prints with its notes underneath. Put the stack next to the laptop. Nothing to pair, nothing to leak, no battery.
Setup 4: One screen, capture only the slideshow window
If you truly want on-screen Presenter View on a single display, there is a working — but fiddly — path: run the slideshow full screen, open Presenter View in its own window, shrink it, and have the recorder capture the slideshow window rather than the display.
- Start the slideshow full screen (F5).
- Hover at the bottom-left of the slide until the small control bar appears, click the … (three dots) menu, and choose Show Presenter View. (Windows shortcut: Alt+F5 starts the show with Presenter View on the same monitor.)
- Presenter View opens as its own window on top. Resize it smaller and move it aside — the full-screen slideshow keeps running underneath.
- In your recorder, choose window capture and select the PowerPoint slideshow window — not the Presenter View window, and not the display. Presenters on the OBS forums use exactly this arrangement.
Three honest caveats. Window capture of a full-screen slideshow can go black or stop refreshing depending on the capture backend — in OBS, switching the source's capture method from Default to Windows Graphics Capture usually fixes stale frames. Setting the show to Set Up Slide Show → Browsed by an individual (window) so it runs windowed is a tempting alternative, but it greys out Presenter View entirely, which defeats the purpose. And you're now teaching while squinting at a shrunken Presenter View. Try Setup 3 first; this is the fallback for when you're committed to the Presenter View layout.
The 6-point leak check before your real take
Run this once, before the lesson. It takes two minutes, and it's the difference between finding a problem now and finding it after a 40-minute recording.
- Extend, not Duplicate/Mirror. Confirm it in Win + P or System Settings → Displays. Mirrored displays defeat every other step on this list.
- Record 10 seconds and play it back. Advance one slide, say one sentence, stop, watch. This catches the wrong-display mistake, and nothing else does.
- Mind the mouse. The pointer is captured. Parking it over the slideshow means it sits in your video; sweeping it across mid-sentence is worse. Keep it on the notes screen when you're not pointing at something.
- Silence notifications. Focus Assist (Windows) / Do Not Disturb (macOS). A message preview landing on the recorded display is its own kind of leak.
- Check the edges of the recorded display. On macOS the Dock can slide onto the second screen; on Windows a taskbar may sit on both. Full-screen slideshows usually cover them — verify in the test clip rather than assuming.
- Stop the recorder before you press Esc. Press Esc first and the last second of your video is PowerPoint dropping back to the editing view with the notes pane open. This is the most common way an otherwise careful setup still leaks notes.
Already recorded with your notes visible?
Three options, in the order worth trying:
- Cut, if it was brief. If Presenter View only flashed on screen for a few seconds — during a swap, or on exit — delete those seconds. Cheapest fix by far.
- Crop, if the slide preview was large. Presenter View's slide preview is 16:9, so you can crop the video to that region and scale it up. But you're enlarging a roughly half-size preview to full frame, so slide text goes soft. Fine for an internal review copy; usually not good enough for a course you publish.
- Re-record. Usually the fastest real answer. You know the material and your audio setup hasn't changed — second takes are nearly always shorter and tighter than firsts.
Doing it in one pass
Whichever setup you land on, the recording is only half the job: a lesson video still needs captions, dead air trimmed, and an MP4 at the end. Bouncing between a recorder, an editor and a captioning tool is where the afternoon goes.
Penbeam is built for this specific job — recording lessons rather than streaming. It records a chosen display or a dragged region, so "record display 2 only" and "record just the slideshow area" are both one click. It adds a webcam overlay in a corner and live annotation while you talk over slides, then drops you straight into an editor for local, offline subtitles, one-click removal of silences and "um/uh", and MP4 export. macOS 12.3+ and Windows 10+.
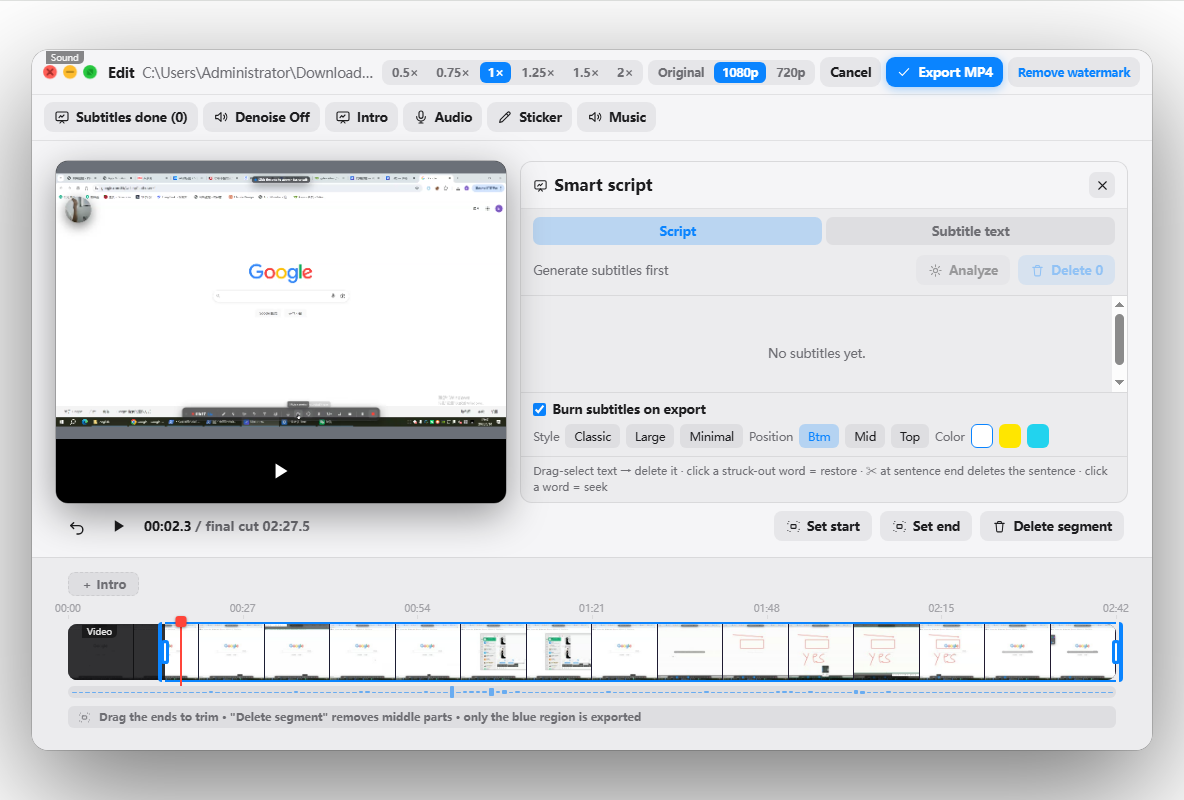
The free tier records unlimited sessions at up to 10 minutes each with a watermark on exports — enough to run the test take above and confirm your display setup before the real lesson. Pro removes the limit and the watermark from $39.99/year, with an education discount. Download from lecta.cc/download, or see the features. Related reading: how to record a presentation with audio and webcam, recording with a webcam overlay, and adding subtitles automatically.
FAQ
How do I record a PowerPoint without showing the speaker notes?
Separate what you see from what gets captured. With two displays: on the Slide Show tab, tick Use Presenter View and set the Monitor dropdown so the slideshow goes to the second display, then point your screen recorder at that second display only. With one display: use PowerPoint's built-in Record — your notes appear as a teleprompter above the slide but are not written into the exported video — or keep your notes off the computer (phone, tablet, or printed) and record the plain full-screen slideshow.
Can I see my speaker notes while recording on a single monitor?
Yes, three ways. (1) PowerPoint's built-in Record shows your notes as an on-screen teleprompter that is not included in the output file. (2) Put the notes on a second device — Keynote Remote on an iPhone, the PowerPoint or Google Slides mobile app, or a printed Notes Page — so nothing on the recorded screen shows them. (3) Run the slideshow full screen, open Presenter View in its own window, shrink that window, and have your recorder capture only the slideshow window rather than the whole display.
Does PowerPoint's Record Slide Show put my speaker notes in the video?
No. In PowerPoint for Microsoft 365 the recording studio turns your speaker notes into a teleprompter above the slide preview so you can read them while looking near the camera. That teleprompter is presenter-side only — the recorded slides, narration and webcam are what get embedded and exported. It is the simplest single-monitor answer if your whole lesson lives inside PowerPoint.
How do I record just one monitor instead of both?
On a Mac, press Shift-Command-5 and choose Record Entire Screen, then click the display you want to record; macOS Tahoe 26 and later also offers Record Selected Window. On Windows, use a recorder that lets you pick a display or drag a region — Xbox Game Bar is a poor fit here because it captures the active app window and cannot record the desktop shell or File Explorer. Whatever you use, do a 10-second test take and play it back before recording the real lesson.
How do I keep presenter notes out of a Keynote recording?
Connect a second display and set it to Extended (not Mirrored), then choose Keynote → Settings → Presenter Display and tick “Use alternate display to view presenter information” so your notes stay on your Mac's own screen. Use Play → Customize Presenter Display to choose exactly what appears there. Then record only the external display. With one screen, use Keynote Remote on an iPhone or iPad instead: Keynote → Settings → Remotes → Enable on the Mac, then tap the Keynote Remote button in the iPhone app.
I already recorded the lesson with Presenter View visible — can I save it?
Sometimes. If the slide preview inside Presenter View was large and 16:9, you can crop the video to that region, but you are cropping a roughly half-size preview up to full frame, so slide text goes soft — acceptable for an internal review, usually not for a course. If your notes only flashed on screen briefly, cut those seconds instead. In most cases re-recording with the setup fixed is faster than rescuing the file, because the audio is still fine and you already know the material.
Sources
- Microsoft — Present on multiple monitors (and view speaker notes privately)
- Microsoft — Start the presentation and see your notes in Presenter view
- Microsoft — Record a slide show with narration and slide timings
- Apple — Play a presentation on a separate display in Keynote on Mac
- Apple — Use a remote to control a presentation in Keynote on Mac
- Apple — How to record the screen on Mac
- Google — Use slides recording in Google Slides
- OBS forums — Using OBS for PowerPoint in Presenter View
Free download for macOS and Windows. Annotate while you talk; auto subtitles when you finish.