Key takeaways
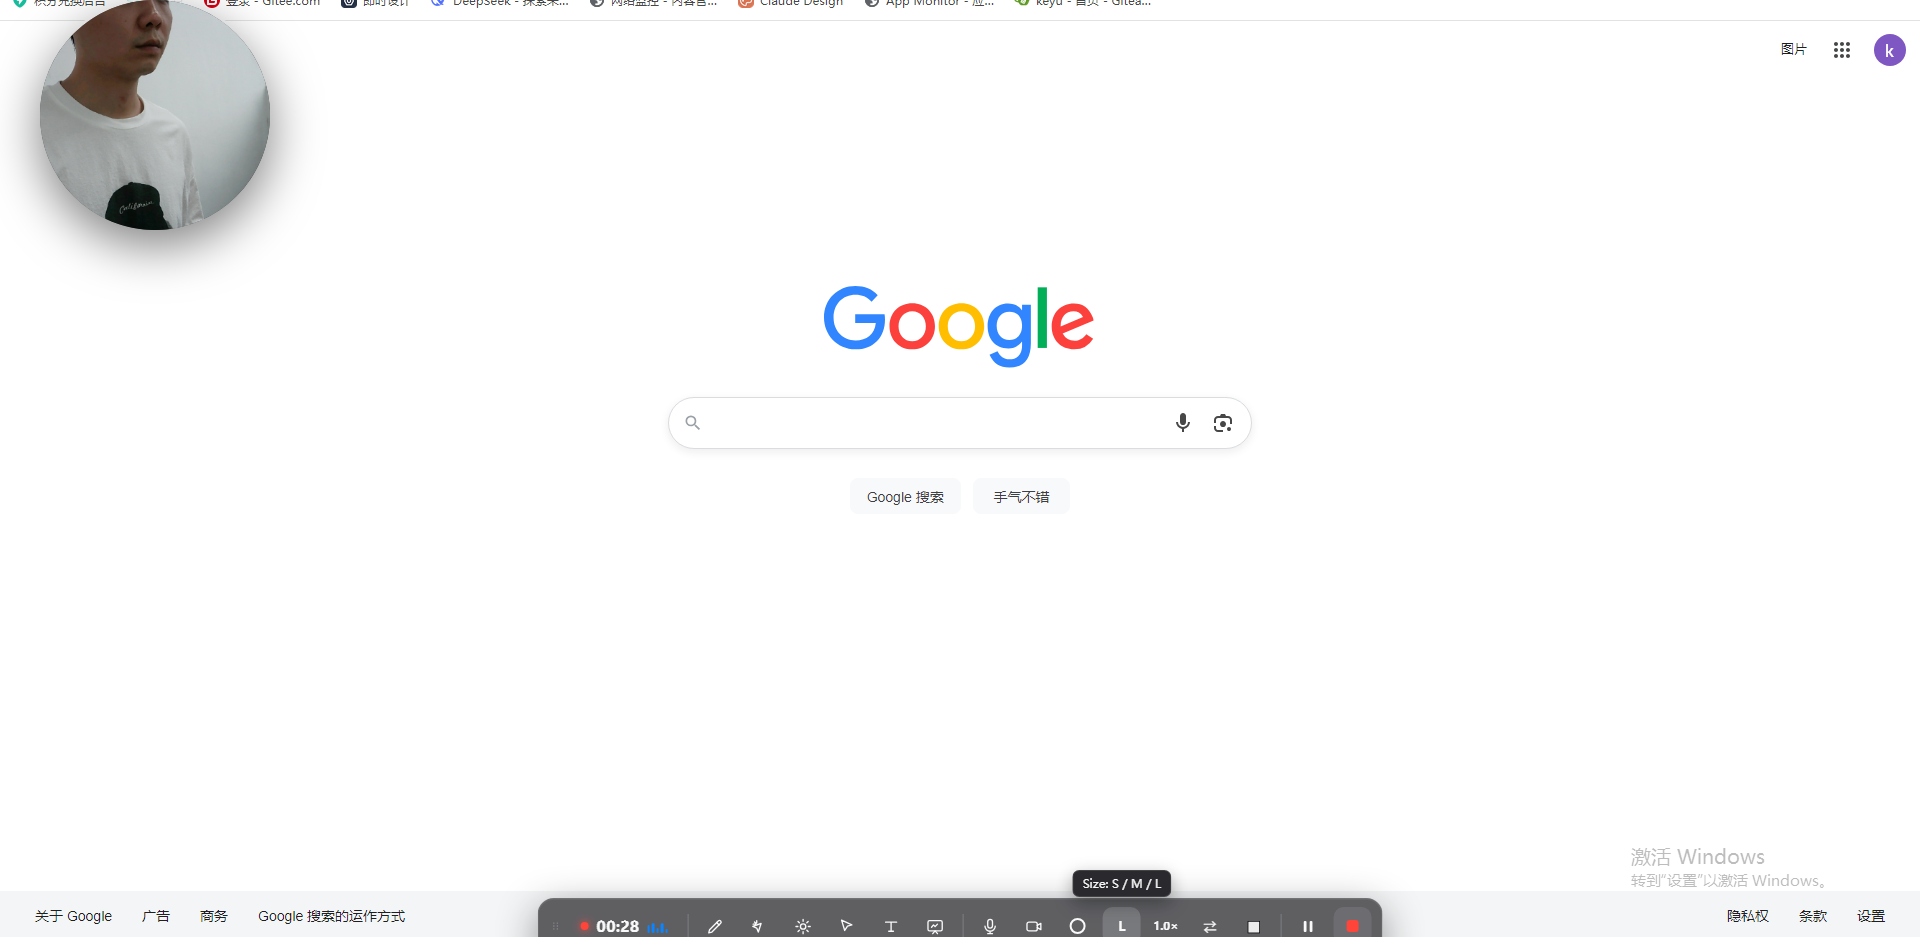
- A screen recorder with webcam records your screen and your face at the same time, showing the webcam as a small overlay (circle or frame) on the screen.
- Built-in tools (macOS Shift-Cmd-5, Windows Game Bar, QuickTime) record screen OR webcam, not a webcam bubble layered on the screen — you need a dedicated tool for that.
- Keep the bubble small and in an empty corner so it adds presence without hiding content.
- Penbeam records screen + webcam together (circle/frame/zoom), then adds local offline subtitles and one-click clean-up, all in one app on macOS 12.3+ and Windows 10+.
- Free tier available (10 min/session, watermark); Pro removes limits from $39.99/year, with an education discount.
A screen recorder with webcam captures your screen and your face at once, placing your webcam as a small overlay on top of what you’re showing. It’s the standard look for lectures and tutorials because students see both the content and the person explaining it — which keeps them watching. Here’s how to set it up properly.
Why add a webcam to a screen recording
- Presence and trust. Seeing your face builds connection, especially for async and flipped-classroom videos where you’re not live.
- Engagement. A talking-head corner keeps attention better than a faceless screen with a voice-over.
- Expression. A nod, a smile or pointing at the screen reads better with your face visible.
Why built-in tools fall short
This is the catch most people hit: the free built-in recorders don’t do a webcam overlay. macOS Shift-Cmd-5 and QuickTime record the screen or the webcam, not your face layered on the screen. Windows Game Bar is similar. To get the face-on-screen look, you need a tool designed for it — which also usually brings annotation, subtitles and editing along.
How to record screen + webcam
With a tool built for it like Penbeam, the steps are short:
- Choose the screen or window you’ll show.
- Turn on the webcam overlay — pick a circular or framed bubble and place it in a corner.
- Select your microphone (and system audio if you’re demoing something with sound).
- Record with a countdown, annotate or zoom as you go, then stop — you land in the editor.
Placing and styling the bubble
- Corner, not center. Bottom-left or bottom-right usually overlaps the least content. Check your slide template for the emptiest corner.
- Keep it small. Big enough to read your expression, small enough not to cover text or code.
- Circle vs frame. A circular bubble feels lighter and modern; a framed rectangle shows more of your background. Both work — pick what fits your style.
- Good light beats a fancy camera. Face a window or lamp; even a built-in webcam looks fine with front light.
After recording: subtitles & clean-up
Recording with a webcam is only half the job — the finish makes it look professional:
- Auto subtitles, locally. Penbeam transcribes offline with word-level timing, so captions are accurate and nothing is uploaded.
- Cut the rough bits. Remove long pauses and "um/uh" in one pass, and trim retakes.
- Clean the audio. AI noise reduction removes fan and keyboard noise.
- Export. One MP4 with your webcam, captions and clean audio, ready for your LMS or YouTube.
Penbeam keeps recording (screen + webcam), annotation, subtitles and editing in one app on macOS and Windows. It’s free to try; advanced features unlock on Pro. See the features or download from lecta.cc/download.
FAQ
What is a screen recorder with webcam?
It records your screen and your webcam at the same time, showing your face as a small overlay (a circle or framed bubble) on top of the screen. This is how most teaching and tutorial videos are made.
Can I record my screen and face at the same time on Mac or Windows?
The built-in tools (macOS Shift-Cmd-5, Windows Game Bar) and QuickTime record the screen or the webcam, not a webcam overlay on the screen. A dedicated tool like Penbeam layers your face over the lesson and runs on macOS 12.3+ and Windows 10+.
Where should I put the webcam bubble?
A small bubble in a bottom corner is the safe default — present but not covering your content. Move it to whichever corner is emptiest on your slides.
Does Penbeam add subtitles after recording with a webcam?
Yes. After recording screen + webcam, Penbeam generates subtitles locally (offline, with word-level timing) and lets you remove silences and filler words, then export a finished MP4.
Free download for macOS and Windows. Annotate while you talk; auto subtitles when you finish.