Recording a lecture in Penbeam is just five steps: download and install from lecta.cc/download and grant permissions, click "New recording" and pick full screen or a region (you can add a picture-in-picture webcam), click "Stop" when you finish to save automatically, then open the editor and export an MP4. The whole flow takes about 5 minutes — here it is, step by step.
Key takeaways
- Penbeam is a desktop record + edit + subtitle tool built for teaching — you record, cut and export all in one app.
- Download and install from lecta.cc/download; runs on macOS 12.3+ and Windows 10+.
- Four steps to record: click "New recording" → choose full screen or a region, optionally add a picture-in-picture webcam → record → click "Stop".
- After you stop, open the editor; when you export an MP4 you can choose resolution and speed.
- The free tier records 10 minutes per session, with a watermark, at up to 1080p; remove the watermark and record longer by upgrading to Pro (¥48/month, ¥288/year, ¥698 lifetime).
Step 1: Download and install
Open the download page (lecta.cc/download) and grab the installer for your system:
- macOS: double-click the downloaded
.dmg, drag the Penbeam icon into your Applications folder, then open it from Launchpad. Requires macOS 12.3 or later. - Windows: double-click the downloaded
.exeand follow the prompts to finish installing. Requires Windows 10 or later.
On first launch, your system will request three permissions: screen recording, camera and microphone. Click "Allow" on the prompts — screen recording captures the picture, the camera powers your picture-in-picture webcam, and the microphone records your narration.
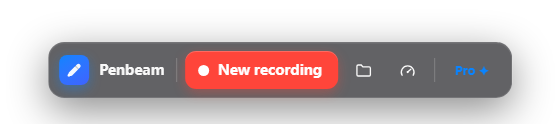
Step 2: Start a new recording
Open Penbeam and click "New recording", then set these in the recording panel:
- Recording area: choose "Full screen" to capture the whole display, or "Region" to record only a selected area (handy for a single window or a detail).
- Webcam: if you want to show your face, turn on the picture-in-picture webcam — it sits as a small overlay in a corner of the picture, which is especially useful for intros and wrap-ups.
- Microphone: pick the mic you want to use and confirm your narration is being picked up.
- Countdown: set a 3-second countdown to give yourself a beat to switch to your slides and clear your throat.
Step 3: What to do while recording
Once recording starts, a control bar sits at the bottom of the screen, ready to use as you teach:
- Live annotation: tap the pen and draw circles, lines or notes right on the screen as you talk, so students can see at a glance exactly what you're referring to.
- Zoom-to-focus: when code, small text or fine detail is hard to read, zoom in on that area — far better than asking students to squint.
- Pause / resume: pause any time for a sip of water or to gather your thoughts, then resume when you're ready — no need to re-record in segments.
For more on annotation and zoom, see How to annotate and zoom in while recording.
Step 4: Stop and save
When you finish, click "Stop" on the control bar. The video is saved automatically to the Movies/Penbeam folder (Movies/Penbeam on macOS, Videos/Penbeam on Windows) — you don't have to pick a save location. After stopping, Penbeam loads the recording into the editor automatically so you can move on to the next step.
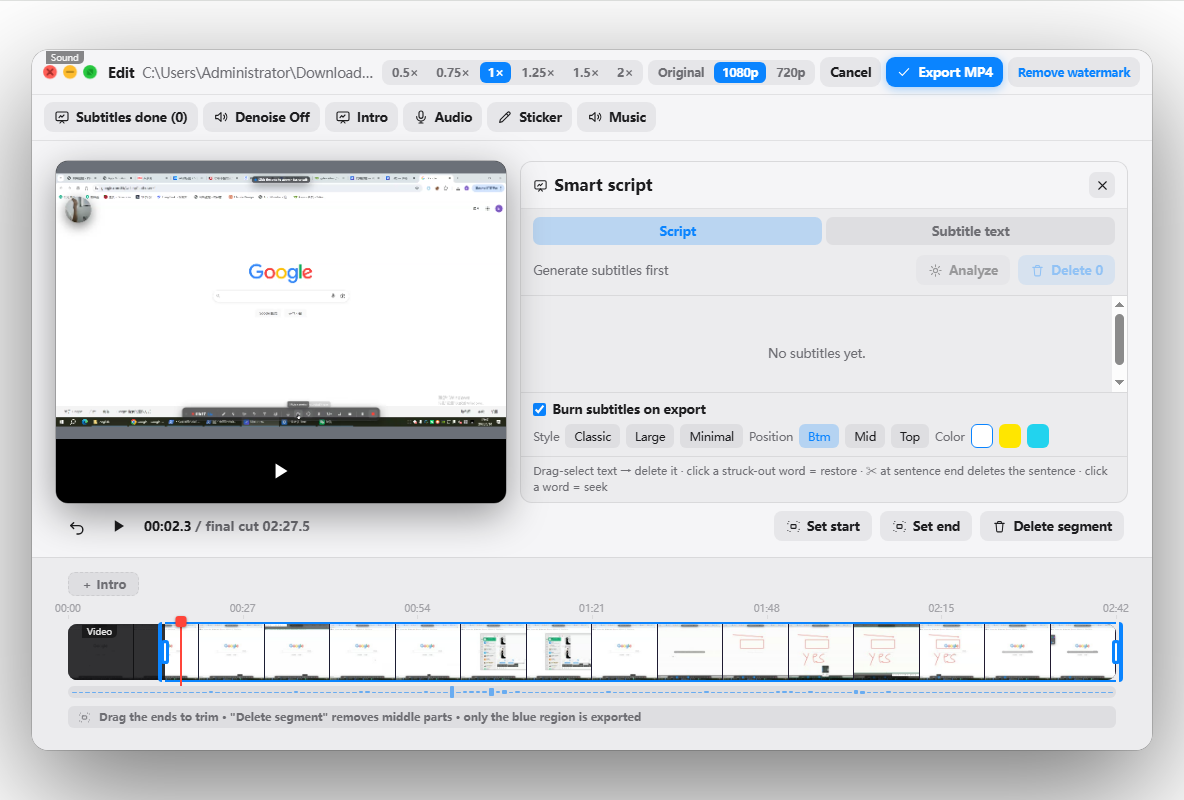
Step 5: Open the editor to cut and export
There's no need to export and reimport into other software — handle everything right in Penbeam's editor:
- Generate subtitles automatically: create local subtitles in one click with on-device speech recognition. Nothing is uploaded to the cloud, and you can edit the subtitles directly once they're generated. See How to generate and edit subtitles.
- Smart cut: automatically detect and remove long silences, filler words like "um, uh", and botched retakes — no more dragging the timeline by hand.
- Export MP4: once you've cut, export an MP4 and choose the resolution and speed, then send the file directly, drop it on a drive, or upload it to your learning platform.
Penbeam's free tier records 10 minutes per session, with a watermark — enough to run through the whole flow and try recording a lesson. When you need to remove the watermark or record longer videos, upgrade to Pro.
FAQ
Q: How do I use Penbeam?
Five steps in all: download and install from lecta.cc/download and grant permissions, click "New recording" to pick full screen or a region and turn on the webcam and mic, use the control bar at the bottom to annotate and zoom in while you record, click Stop when you finish and the video saves automatically to Movies/Penbeam, then open the editor to generate subtitles, remove the filler in one click and export an MP4. The whole flow happens in one app — no exporting into separate software.
Q: Where are my recordings saved?
After you click Stop, the video is saved automatically to the system Movies/Penbeam folder (Movies/Penbeam on macOS, Videos/Penbeam on Windows). You can keep editing in the editor and then export an MP4 anywhere you like.
Q: Does Penbeam support Windows?
Yes. Penbeam supports both Windows 10 and later and macOS 12.3 and later, with the same features and interchangeable projects across platforms — screen recording, annotation, subtitles, editing and export all work on both.
Q: What permissions do I grant the first time?
On first launch Penbeam requests three permissions: screen recording, camera (for the picture-in-picture webcam) and microphone (to record your narration). Click "Allow" on the system prompts. On macOS, if no prompt appears, go to System Settings → Privacy & Security and enable Penbeam by hand.
Free download for macOS and Windows. Annotate while you talk; auto subtitles when you finish.