Penbeam puts annotation, zoom-to-focus, the webcam and the whiteboard right in the recording toolbar, so you can turn them on the moment you need them while recording — no switching windows, no setup in advance. Here’s how each one works.
Key takeaways
- Penbeam is a desktop record + edit + subtitle tool built for teaching, available on macOS 12.3+ and Windows 10+.
- Live annotation lets you draw circles, arrows, lines, boxes and highlights right on the screen as you talk.
- Zoom-to-focus enlarges an area you click on, and can follow the cursor, so code, formulas and small text stay readable.
- The picture-in-picture webcam shows your face in a corner, toggles on and off any time, and supports circular / rounded shapes, mirror, zoom and a border.
- It also includes a spotlight, mouse-click highlight, whiteboard mode and keystroke display, all with buttons in the recording toolbar if you can’t remember the shortcuts.
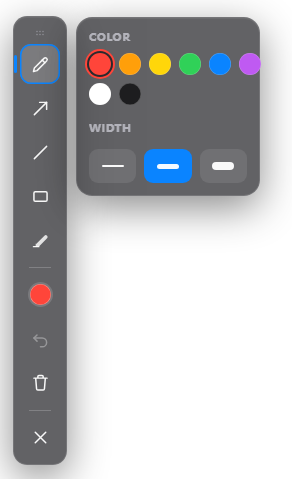
Live annotation: draw as you talk
While recording, press ⌥D to open the pen and draw key points straight on the screen, then press ⌥D again to close it. The styles you’ll reach for most:
- Pen: free handwriting and circling — circle whatever you’re explaining.
- Arrow: point at a button or a line of code to say "look here".
- Line: draw dividers or connectors to mark relationships.
- Box: frame a region to emphasize a section.
- Highlight: a translucent wash that picks out key text like a marker.
These annotations are drawn on the recording in real time, so students can instantly follow what you’re pointing at.
Zoom-to-focus
When small text is hard to read, press ⌥Z to enter zoom-to-focus, click the area you want to enlarge, and that region scales up. You can also turn on follow-the-cursor so the magnifier tracks the mouse — handy when demoing code or a set of parameters, with no squinting required.
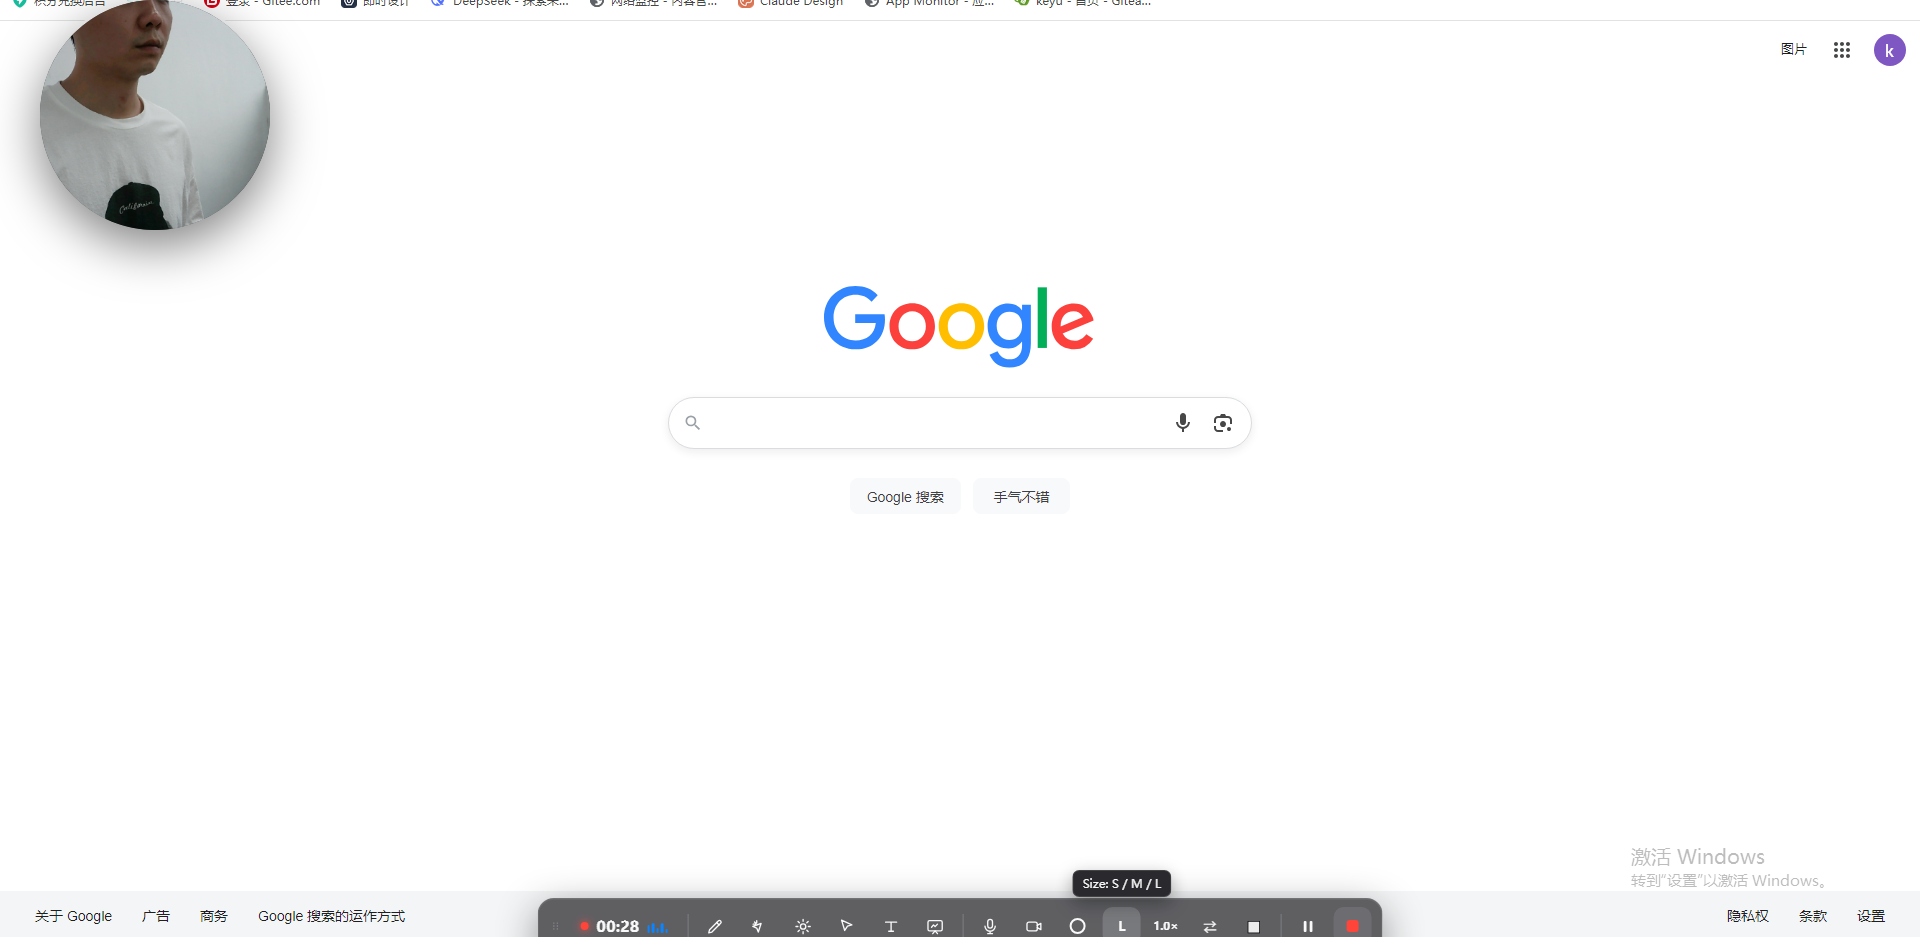
Picture-in-picture webcam
To show your face while recording a lecture, turn on the picture-in-picture webcam and drop a small face window in a corner. A few things you can adjust:
- Shape: circular or rounded rectangle — circular feels lighter, rounded looks more like a formal frame.
- Mirror: when on, left and right match real life, which looks more natural.
- Zoom: crop a good frame and center your face in the window.
- Border: add a border around the face window to set it apart from the screen content.
- Position and size: just drag the window to any corner and resize it freely.
Showing your face during the intro, summary and Q&A closes the distance with students; turn it off any time for pure demo segments where you’d rather stay off camera. See more on the features page.
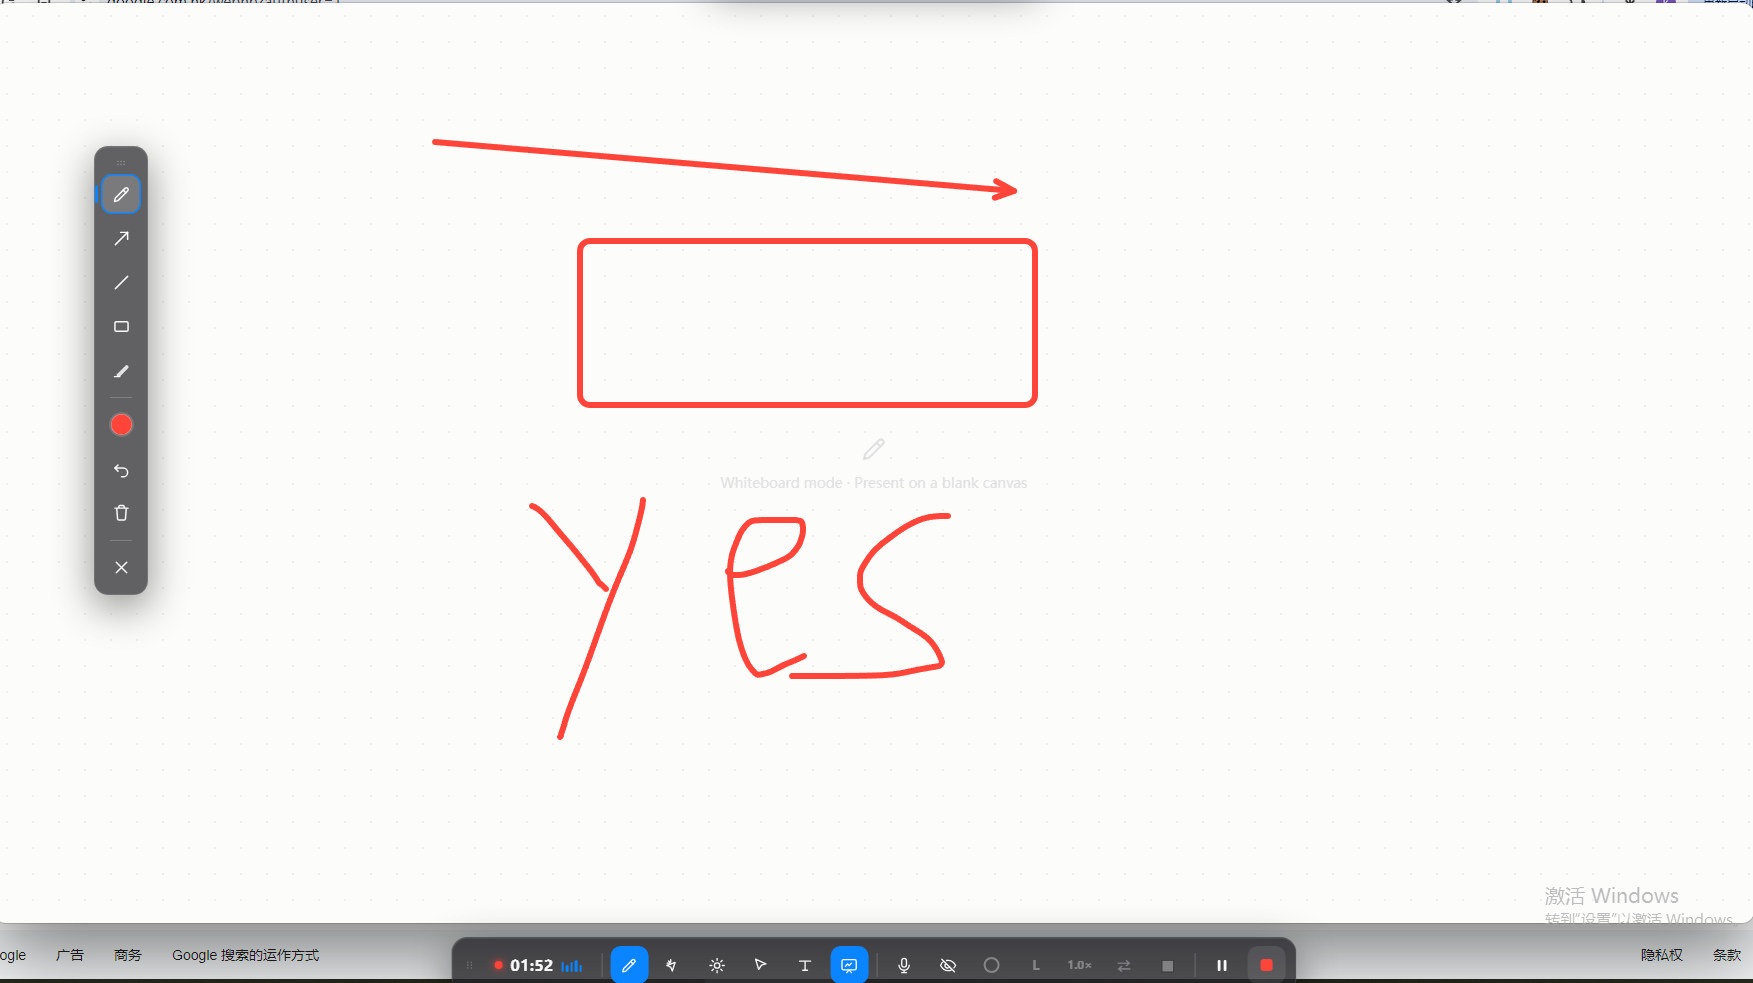
Spotlight / click highlight / whiteboard / keystroke display
Beyond annotation and zoom, there are a few more recording aids, each with its own toggle shortcut:
- Spotlight (⌥L): lights only the area you’re explaining and dims the rest, forcing attention onto the key spot.
- Mouse-click highlight (⌥C): shows a highlight cue on every mouse click, so students can clearly see where you clicked when you demo a workflow.
- Whiteboard (⌥W): switch to a clean whiteboard to handwrite and work things out — it feels far more like teaching than reading off slides when you need to derive something from scratch.
- Keystroke display (⌥K): shows the shortcuts you press on screen, so students can keep up during software tutorials and walkthroughs.
All of these toggles have buttons in the recording toolbar, so you can click them if you can’t remember the shortcuts. First time around, read the quick start to run through a full recording, then try them one by one.
FAQ
Q: How do I draw on key points while recording with Penbeam?
While recording, press ⌥D to open live annotation and draw straight on the screen. The toolbar gives you a pen, arrow, line, box and highlight — mark a point as you reach it and students immediately see what you’re talking about; press ⌥D again to close it. Annotations are drawn on the recording in real time and don’t interfere with the content underneath.
Q: How do I zoom into part of the screen?
Press ⌥Z to enter zoom-to-focus, then click the area you want to see clearly and Penbeam enlarges it. You can turn on follow-the-cursor so the magnifier moves with the mouse. It’s great for code, formulas and small text — far better than asking students to squint. Note: Windows V1 does not support zoom-to-focus yet; this feature is currently macOS only.
Q: How do I show my face while recording?
Turn on the picture-in-picture webcam to show your face in a corner of the screen. The window can be circular or a rounded rectangle, and supports mirror (so left and right match real life), zoom (to crop a good frame) and a border; drag the window to reposition or resize it. Showing your face during the intro, summary and Q&A noticeably closes the distance with students.
Q: What are the annotation shortcuts?
Live annotation (pen) is ⌥D, zoom-to-focus is ⌥Z, mouse-click highlight is ⌥C, spotlight is ⌥L, whiteboard is ⌥W and keystroke display is ⌥K. These are all toggles you can hit on the fly while recording — press again to turn the feature off.
Free download for macOS and Windows. Annotate while you talk; auto subtitles when you finish.